
Just over a month ago, we began washing our clothes in the bathtub. What, you may ask, was the catalyst for this change in routine? Although I'd love to point to a loftier reason, the fact is that our washing machine was acting the temperamental brat and I was unwilling to pay hard earned money to fix it. I began researching my options. On average, washing machines use 25-40 gallons of water each load. Add to that the 37 gallons of water a day per toilet (we have two) and the 50-70 gallons of water each day for a shower, times 5 (as there are 5 of us) and we're regular water wasters around here. I began to think that we could cut down on those numbers if we were to multi-task a little better. Years ago an excellent friend of mine used the shower to wash her clothes and herself at the same time. This not only earned her years of bragging rights, but left a lasting impression on me; I was filled with images of self-sufficiency and
eco-empowerment. So, could I do this with a family of 5? How could it work and would we be overcome with dirty laundry? Destined to drown in muddy pants and soggy shirts?

The answer was easy enough to decode. We began with a schedule. I realize I'm at risk of ridicule with this coming admission, but damn the torpedoes! I scheduled our schedules. Every 4 days each person would take a shower and wash their own clothes.
Nik was excluded because he showers at his work. The kids became responsible for washing their own clothes and I was responsible for washing the household laundry as well as
Nik's and my own. At first the thought was overwhelmingly time consuming but the resulting figures are much less then originally planned. The kids enjoy the responsibility and the level of fun that comes with washing your own gear.

For curious minds, I'd like to explain the process. Start with the clothes themselves. We discovered early on that despite progress in the world of laundry, it really does matter what types of material and what colors you put together. Luckily, the kid's clothes are all similar in material and hardiness. Build your pile and start the bath water; close the drain immediately to catch any and all water. Let the bath water fill for a moment or two and add your soap. Because your skin will be immersed in the laundry soap, it's best to use a
enviormentally safe and skin tolerant soap. We've found two that I like.
Biokleen and Kookaburra. I use each one for different types of clothes. I use the
Biokleen for jeans and tougher material and I prefer the Kookaburra for the pleasant scent and how well it cleans more delicate clothing. Pour your soap in as the water is just starting, so that the pressure of the water can agitate the soap and thereby produce more cleansing bubbles. Turn on your shower and throw in your clothes.

Hop on in and start stomping. Stomping on the clothes help the soapy water really get to the dirty areas. Soap up, wash, shampoo... all the while you're stomping on your clothes. I like to keep two rocks in the shower for those super dirty pant cuffs. I originally looked for a washboard and had the
darndest time finding one, when a wonderfully snoopy lady at
Mirador suggested I use rocks. And they work famously! After agitating and scrubbing and stomping, open the drain and begin to empty the water. At this point I'm usually rinsing my soapy pits. Once the tub is loosing water, pick up each article of clothing and hold it under the spray of the shower in order to rinse it off. This part has been the hardest part of all for me to figure out because I feel like it takes a lot of water to rinse off each piece of clothing. I have put a bucket in the shower a few times, on the floor - under the spray, sitting in the soapy water but higher then the suds. The bucket catches any extra water sprayed. Then I'd use the water in the bucket to rinse the soap out of each piece of clothing. This method works well if you're washing t-shirts, socks and underwear. It doesn't work so well with pants or towels as they're too big and heavy. Anyhow, once the clothes are rinsed, wring them out (I've already built some pretty
rockin' biceps from this activity) and hang them up to dry.

I recently installed a drying rack above the shower to hang wrung out but still wet clothes. Once I get out of the shower and get dressed, I take the wrung clothing into the kitchen and hang them on one of three drying racks. In the summer I hang them outside. Air is free; why not take advantage? The length of drying time depends on the thickness of the material. Jeans take a day or two and t-shirts have taken as short as a few hours if I've been cooking all day and the kitchen is extra warm. I love this method of cleaning our clothes because we're using very little energy, conserving water and believe it or not, I've come to respect our clothing so much more. Each sock, shirt or pair of pants was made by someone, somewhere. Most likely in a country very different then my own, under very different circumstances. I feel that fact deserves respect. Making clothing is a difficult task; I know as I've dabbled at my home sewing machine. Although I'd like to think that these folks get paid decent wages, have sick time and only work 8 hour days, I cannot be that naive. Their sacrifice is so often overlooked and under respected within our society. Washing my own clothes in this manner reminds me that although I may have paid money for this sweatshirt or that towel, I haven't yet paid it's true cost. The act of spending time with my laundry has afforded me a little time to reflect and find some peace, washing away the dirt.




 Just over a month ago, we began washing our clothes in the bathtub. What, you may ask, was the catalyst for this change in routine? Although I'd love to point to a loftier reason, the fact is that our washing machine was acting the temperamental brat and I was unwilling to pay hard earned money to fix it. I began researching my options. On average, washing machines use 25-40 gallons of water each load. Add to that the 37 gallons of water a day per toilet (we have two) and the 50-70 gallons of water each day for a shower, times 5 (as there are 5 of us) and we're regular water wasters around here. I began to think that we could cut down on those numbers if we were to multi-task a little better. Years ago an excellent friend of mine used the shower to wash her clothes and herself at the same time. This not only earned her years of bragging rights, but left a lasting impression on me; I was filled with images of self-sufficiency and eco-empowerment. So, could I do this with a family of 5? How could it work and would we be overcome with dirty laundry? Destined to drown in muddy pants and soggy shirts?
 For curious minds, I'd like to explain the process. Start with the clothes themselves. We discovered early on that despite progress in the world of laundry, it really does matter what types of material and what colors you put together. Luckily, the kid's clothes are all similar in material and hardiness. Build your pile and start the bath water; close the drain immediately to catch any and all water. Let the bath water fill for a moment or two and add your soap. Because your skin will be immersed in the laundry soap, it's best to use a enviormentally safe and skin tolerant soap. We've found two that I like. Biokleen and Kookaburra. I use each one for different types of clothes. I use the Biokleen for jeans and tougher material and I prefer the Kookaburra for the pleasant scent and how well it cleans more delicate clothing. Pour your soap in as the water is just starting, so that the pressure of the water can agitate the soap and thereby produce more cleansing bubbles. Turn on your shower and throw in your clothes.
 I recently installed a drying rack above the shower to hang wrung out but still wet clothes. Once I get out of the shower and get dressed, I take the wrung clothing into the kitchen and hang them on one of three drying racks. In the summer I hang them outside. Air is free; why not take advantage? The length of drying time depends on the thickness of the material. Jeans take a day or two and t-shirts have taken as short as a few hours if I've been cooking all day and the kitchen is extra warm. I love this method of cleaning our clothes because we're using very little energy, conserving water and believe it or not, I've come to respect our clothing so much more. Each sock, shirt or pair of pants was made by someone, somewhere. Most likely in a country very different then my own, under very different circumstances. I feel that fact deserves respect. Making clothing is a difficult task; I know as I've dabbled at my home sewing machine. Although I'd like to think that these folks get paid decent wages, have sick time and only work 8 hour days, I cannot be that naive. Their sacrifice is so often overlooked and under respected within our society. Washing my own clothes in this manner reminds me that although I may have paid money for this sweatshirt or that towel, I haven't yet paid it's true cost. The act of spending time with my laundry has afforded me a little time to reflect and find some peace, washing away the dirt.
 Today was a beautiful, sunny day and darn it if we didn't deserve it! After a rainy and cold summer, my Summer To-Do list is but half it's original length. I'd have preferred it to be completed, but such is life. We did however, utilize the day in all it's splendor; we finally built the Habitat Composter!
 Although we have an Earth Machine composter and a compost tumbler, we really needed something larger that could be turned easily as well as be centrally located. So out of pallets Joshua, Stella and I built two compost boxes. Eventually I hope to expand it to three. It's so totally ghetto that it's cool; we named it the "O", in honor of a metal letter O that we found at Scrap last year.
 And can you believe it, we haven't had a working wheelbarrow ever?!?!?! We had bits and pieces of one that Jason and I surgeried together today. A few bolts here, an over sized metal rod there and voila! A working, if not slightly shaky, wheelbarrow. It works like it should and that's what matters most. Yay for usin' what ya' got!
 So I save everything. Even the ends of my candles. You know... the stubs at the bottom that never seem to burn up all the way. I save all the little wax ends in a little tin, up on one of my shelves. Sometimes I also pick up half burned candles that I find in free boxes while journey-ing around. Those too go up on the "reuse" shelf. Well, this morning before the kids got up, I reached up to put an emptied out milk container up on the "reuse" shelf and guess what happened?
 If you guessed that I knocked the wax tin right down on my head, you'd have guessed correct. Damn, that smarted!!! So in addition to changing out the lavender in my lavender oil jar that's sitting, stewing, on my kitchen window sill (the one and only facing south) I decided to throw in some candle making.
 And cleaning. Oh Lordy! The cleaning! The kids and I started by harvesting any wax we could find and then melted! Melted! Melted! We took some of the spent lavender from the stewing lavender oil jar and added them to a couple of the candles. Despite the fact that they've been cookin' for 7 days in the direct son, they still retain some of their awesome scent. By the time we were done, there was wax everywhere! Just look at these photos, the counter and stove were spotless
  when we started. Ohhhh, we're such piggies!
 I hate flies. I just can't help it. I know that everything plays an important part in the natural way of things, but I just can't stand them. Part of the problem is our lack of screen door; since our doors are open all the time in the summer, those darn flies believe the have a right to just fly on into my home. Damn flies! We've used fly strips and I've even bought a can or two of fly spray this year. I know, I know, how could I??? Anyhow, we decided to try a couple of fly traps near our front door and here's how one turned out. It's ingenious really and it's working wonderfully. Just cut off the top to a juice or pop bottle, invert the top, fill with jam and water and 1/4 cup of vinegar (to discourage the bees - as I do so love them!) and hang. Voila! The flies get caught in the bottle and drown. No more flying through Beka's house for you nasty little buggers!
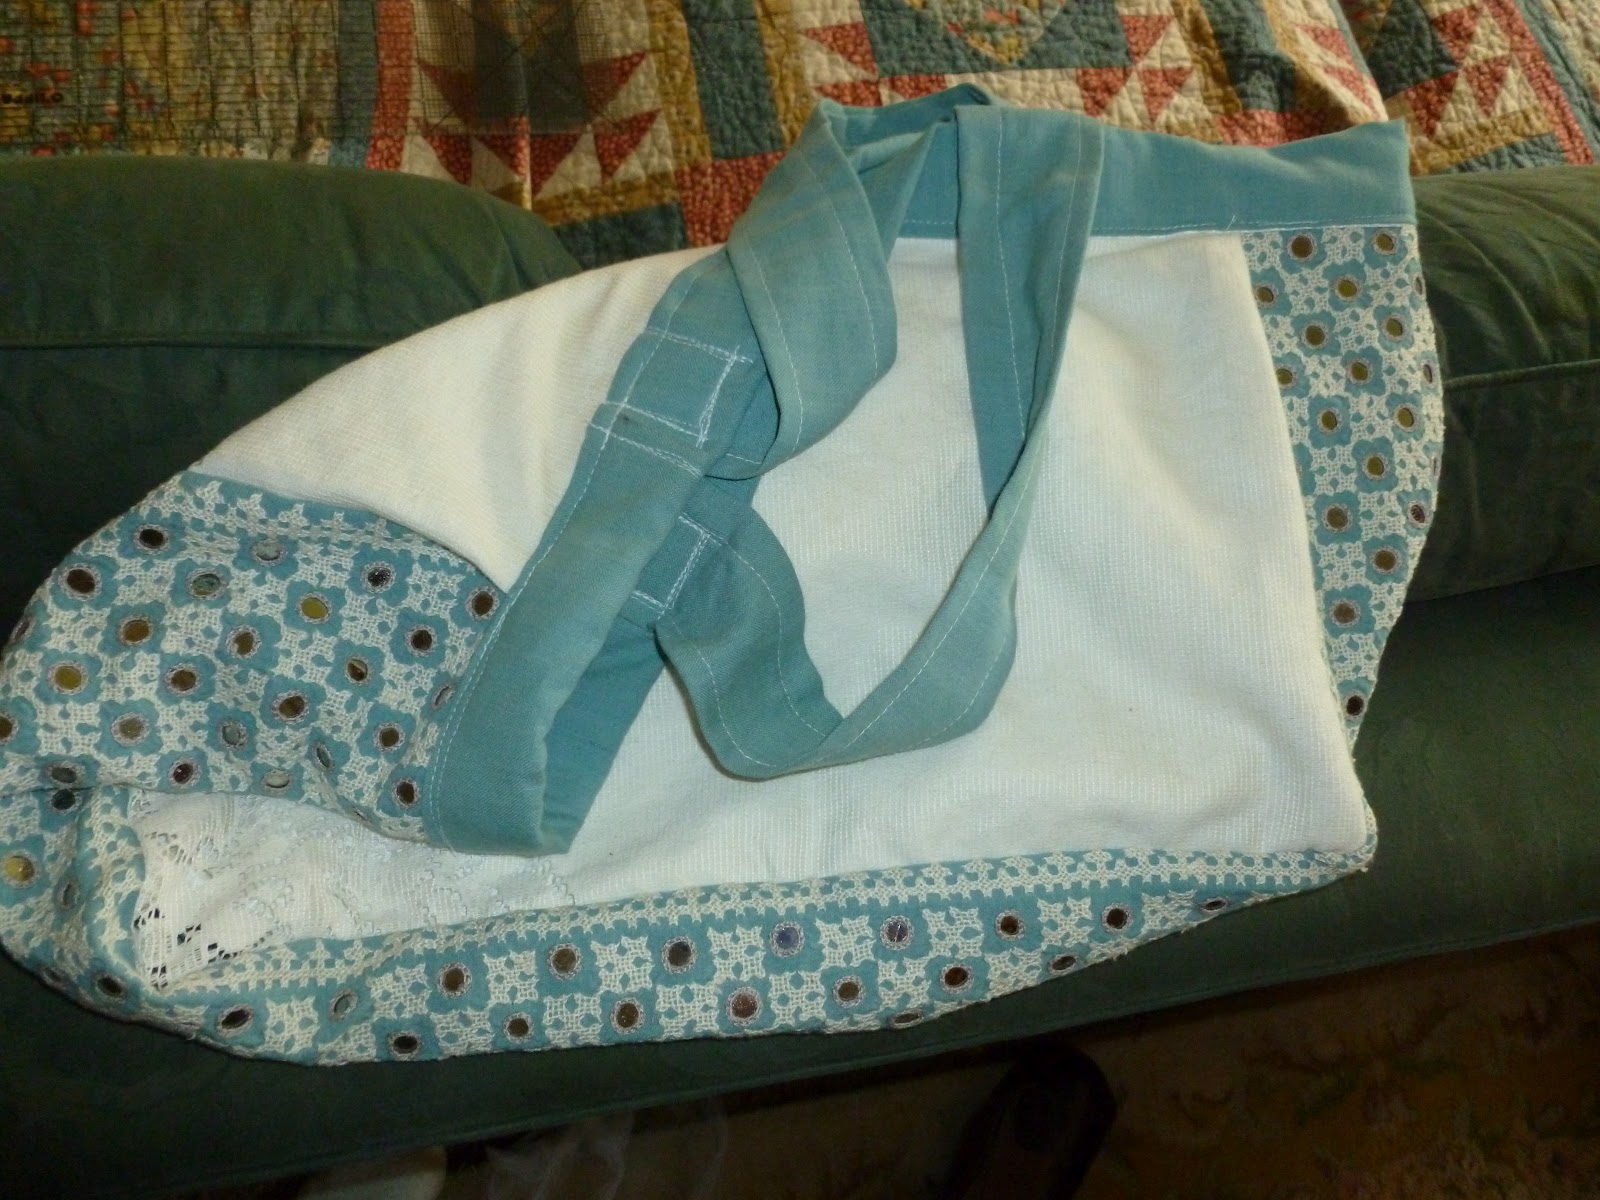
 In the winter months, when it's too wet and rainy to hang our wet clothes outside on the line to dry, we end up stockpiling a literal ton of dryer lint. So much so, that we've taken to storing it in a 50lbs. potato bag.

 Although we enjoyed this project and in the process, reused unwanted items, there is a better fire starter out there. Lighter, smaller and more accessible, with less work. I'm speaking of course, of a Nacho Cheese Dorito. Flames' up like it's soaked in napalm. And the Dorito is marketed as food!!! Question the establishment!
 Some of my flowering plants needed a little boost of fertilizer and since I just started my worm bin, the most traditional way to make compost tea, and am at this point unable to harvest any worm castings or compost tea, I decided to try to make some tea using a different method. I froze some water in the bottom of a medium sized can and then, when completely frozen, I was able to put some holes in the bottom of the can with a nail and my favorite hammer.
  Once the water in the can un-thawed, I filled it with fresh goat pellets, or poop, and placed it above a larger can. After spraying some fresh water into the poo can and letting it sit in the sun all day, I had some pretty awesome compost tea. Since it's super concentrated, I mixed it 10 to 1 with water. Easy, free and made by mother nature!

 So, here we are, building another bird feeder. I think I must have 7 or 8 homemade bird feeders in the yard at this time. I just can't seem to help myself! I love the birds and I'm running out of ideas for reusing the milk jugs, so that's how we ended up making yet another feeder. This one is super easy. Cut a hole large enough in the milk container for a bird to get into, push two skewers into the bottom for roosts and add bird feed. For easy placement and removal on a branch, I used a wire coat hanger. Not rocket science but a fun way to spend a sunny afternoon with your children.
 ate and agonizing over where and how to build and place a fire pit and grill, we finally agreed on where it should reside. Nik scavenged a really cool grate that cleaned up real easy and the fire beneath our buns was ignited! The kids helped heave dirt back to the designated spot while Nik dug and placed and then replaced all of the concrete pieces. I sto
 od, watched and photographed. When it was time, I did assist in in the building effort by hauling buckets of river rock and sand at Nik's command. It took him three solid hours, and well into the night, to finish this project. Wh
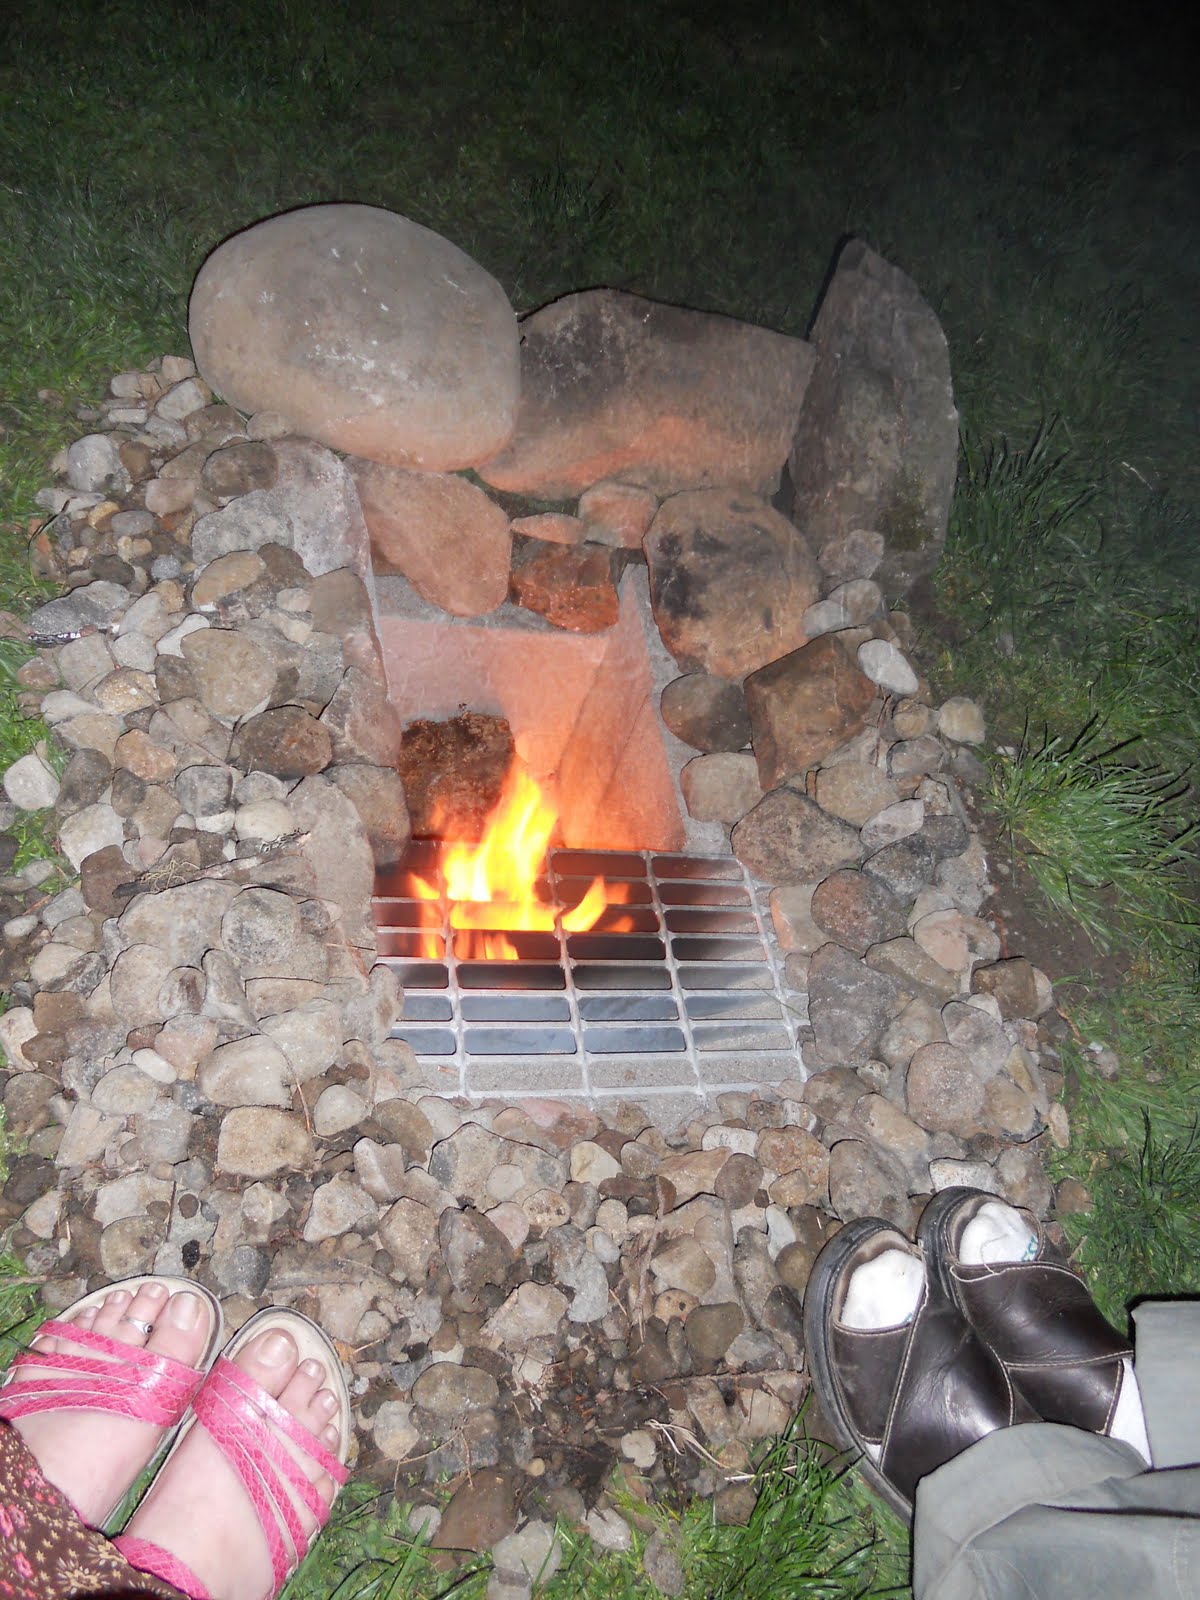 en it was all said and done and the children were snug in their beds, we initiated the pit with a nice, warm fire and a glass of wine. Great job family!
 Although we don't eat a lot of meat products that produce grease, we do occasionally. And what to do with all the fat and drippings? We used to save them in a can, with lid, in the refrigerator and then throw the can out once it got full. No longer!


 The next morning wake up all excited that you're going to be making a treat for the birds! Well, that's how I wake up, thrilled for the birds. Head outside to your potting bench or porch or backyard jungle and find some chicken wire or meshing or random piece of metal wiring that's somehow been blown into your yard, as I did. Oh yes, remember to bring your fresh suet! I had to cut my thick metal wiring with heavy duty metal clippers because it was real thick. I've done this before with regular old chicken wire and it works just fine. Double over the wiring and add a little extra, I like to make a perch for the birdies - with sharp wire bent under of course, and pop your suet out of it's frozen container. Place in the center and refold the meshing to enclose it. Oh yes, twine is useful as a hanger for the suet. In the past, we've used broken shoelaces and old hair ribbons, though we were plum out of extra string at the time of this project. Make sure to bend the wire in and under so that birds don't hurt themselves on any exposed, up facing sharpies. Voila! Go hang in a tree and watch the birds!
 Since our kitchen was just a huge open space, with very little counter space, my good friend Sasa purchased me these awesome shelves from Costco for my birthday. The cool thing is that the shelves can be dismantled to create two shelving units. We decided to use them as an island in the kitchen.


